
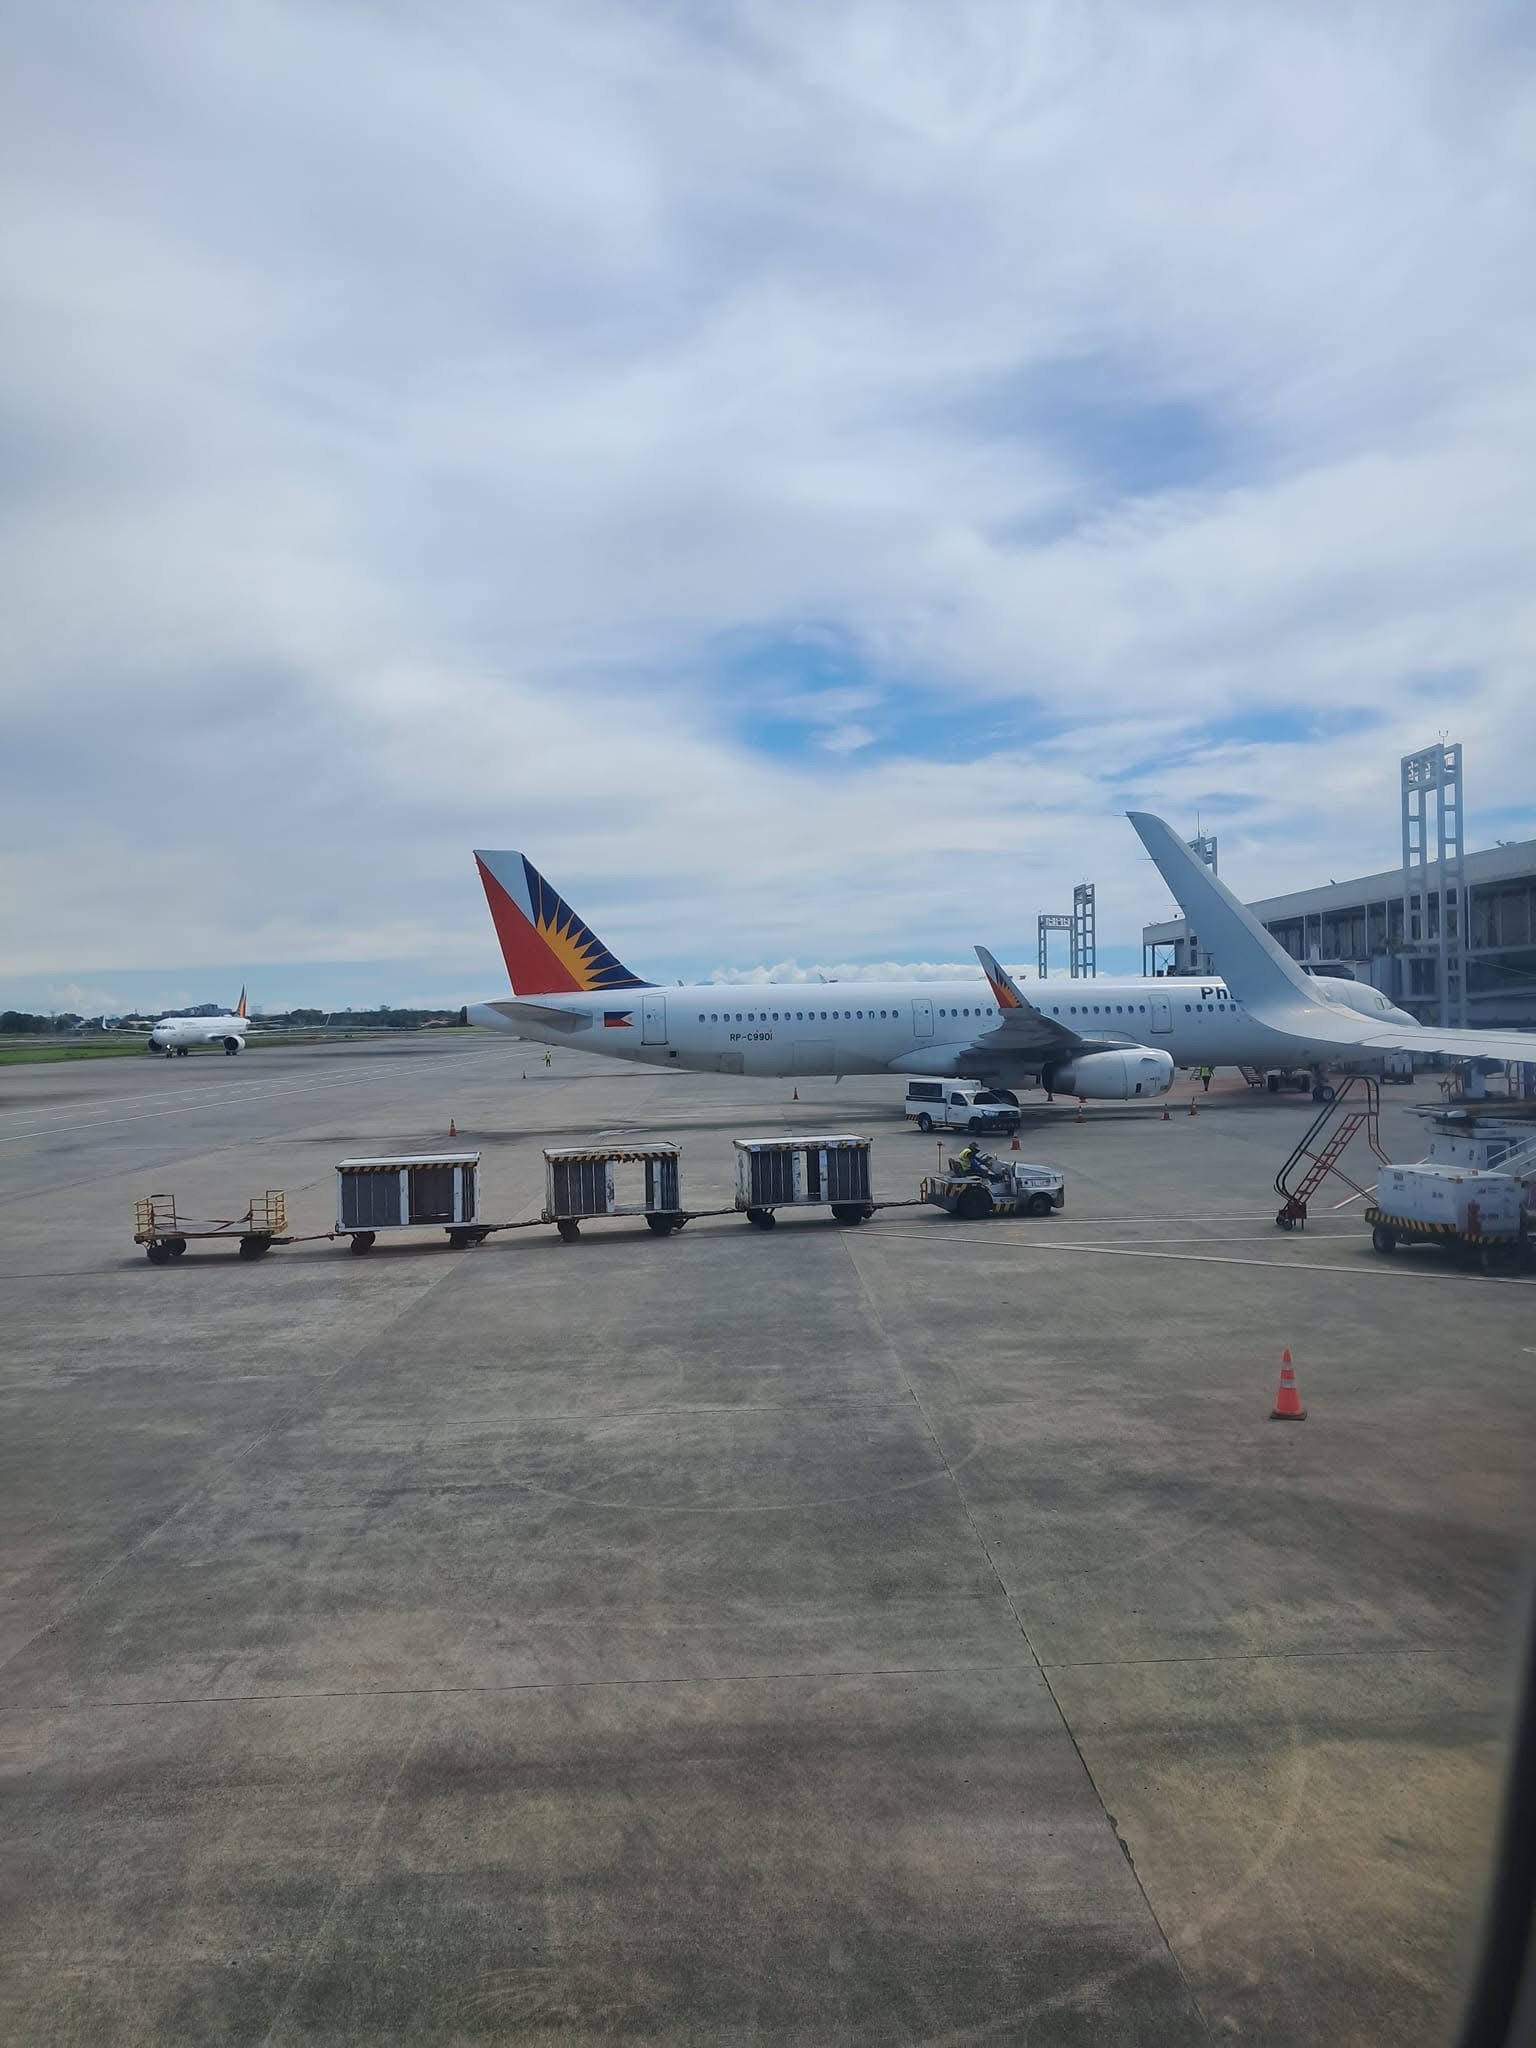
The Philippines is one of Southeast Asia’s most rewarding destinations, but it is also a country where good preparation can make a huge difference. The country has more than 7,000 islands, several major languages, different transportation systems, tropical weather, busy cities, remote beaches, modern business districts, and rural communities that can feel completely different from Metro Manila.
For a first-time visitor, this variety is part of the attraction. It can also make travel confusing. Should you bring cash? Is Grab available? Do you need a local SIM card? What is eTravel? Which airport terminal will you use? How much time should you allow between domestic flights? Can you drink tap water?
This guide covers the practical things for the foreigners first time in the Philippines should know before arriving in the Philippines in 2026.
First Trip to the Philippines at a Glance
- Entry: Check visa requirements for your nationality
- eTravel: Complete the free government declaration within 72 hours of travel
- Money: Carry both cards and Philippine pesos
- Transportation: Grab is convenient in major cities
- Internet: Arrange a SIM or eSIM
- Weather: Prepare for heat, humidity and sudden rain
- Island travel: Allow extra time for flights, ferries and transfers
- Best advice: Visit fewer destinations and give yourself more time
Table of Contents
Before Arriving: What You Need to Know
Visa requirements depend on your nationality. Many foreign nationals covered by the Philippines’ visa-free arrangements can enter for an initial stay of 30 days, while others need to obtain a visa before travel. The Bureau of Immigration also allows eligible visa-free visitors to apply for an initial 29-day extension and provides online services for certain tourist-visa extensions.
Before booking your flight, check the latest requirements directly with the Philippine Bureau of Immigration or the Philippine embassy or consulate responsible for your country. Do not assume that another traveler’s experience applies to your passport.
You should also check:
- Passport validity requirements
- Visa requirements
- Length of permitted stay
- Return or onward-ticket requirements
- Requirements for children traveling with only one parent
- Any special rules that apply to your nationality
Immigration requirements can change, so verify them again shortly before departure.
Do not forget eTravel
One of the most important preparations for entering the Philippines is the eTravel declaration. The Philippine government operates the official eTravel system for travelers entering the country. Registration is free.
Fill out the form at the official Philippine eTravel website. The official system states that travelers may register within 72 hours before arrival.
You will normally provide information such as:
- Passport details
- Flight information
- Philippine address or hotel
- Travel information
- Customs declaration information where applicable
After registration, save the confirmation or QR code on your phone. I recommend taking a screenshot so you can access it even if airport Wi-Fi is slow.
Important warning. There are unofficial websites that may charge money for eTravel registration. The official Philippine eTravel service is free. https://etravel.gov.ph is the official site.
Which airport will you arrive at?
Many international visitors arrive through Ninoy Aquino International Airport (NAIA) in Metro Manila. NAIA has several terminals, and they are not all within easy walking distance of one another. If you have a connecting flight, check:
- Arrival terminal
- Departure terminal
- Airline
- Whether baggage must be collected
- Whether you must pass immigration before transferring
- Transfer time
Do not assume a two-hour connection will always be comfortable in Manila. Traffic outside the airport can be heavy, and transferring between terminals can take time. NAIA currently provides inter-terminal transfers and lists transportation options including metered taxis, Grab, point-to-point buses and rental cars.
For first-time travelers, I would avoid arranging a very tight connection between separately booked international and domestic flights.
Getting from Manila airport to your hotel
For many foreign visitors, Grab is the easiest and best option. Grab works similarly to Uber. You enter your destination in the app, see the approximate fare before confirming, and pay using an available payment method. NAIA Terminal 3 has a centralized ride-hailing and taxi area, with Grab among the services operating there.
You can also use:
- Yellow metered taxis
- Regular metered taxis
- Airport buses
- Hotel transfers
- Rental cars
For a first visit, I would normally choose Grab or a prearranged hotel transfer rather than negotiating transportation after a long international flight. Download Grab before leaving your home country and add your payment method in advance if possible.
Get mobile internet as soon as possible
Mobile data makes traveling in the Philippines dramatically easier. You will use it for:
- Grab
- Google Maps
- Hotel communication
- Translation
- Restaurant searches
- Airline updates
- Online banking
- Messaging
- Ferry schedules
- Weather information
The two major Philippine mobile networks travelers commonly encounter are Globe and Smart. Visitors can buy physical SIM cards, local eSIMs, or international travel eSIMs.
For a short trip, an eSIM can be particularly convenient because you can often install it before departure and have internet access soon after landing. For a longer stay, a local Philippine SIM or eSIM may offer better value and may include a local telephone number.
Before buying an eSIM, confirm:
- Your phone supports eSIM
- Your device is carrier-unlocked
- The plan covers your destinations
- Hotspot/tethering is permitted
- The validity period is suitable
Network performance can vary significantly between islands and even between neighborhoods, so there is no single network that is best everywhere.
Cash is still important
Credit and debit cards are widely accepted in:
- Major hotels
- Shopping malls
- Supermarkets
- Larger restaurants
- International businesses
But the Philippines is not a fully cashless country. Cash remains useful—and sometimes essential—for:
- Small restaurants
- Local markets
- Tricycles
- Jeepneys
- Small shops
- Tipping
- Rural areas
- Island communities
- Some tour operators
In places such as Baguio, many smaller local restaurants and businesses may still prefer cash, so carrying Philippine pesos is important. Depending entirely on cards or digital payments can make everyday travel more difficult.
I recommend carrying a combination of:
- One primary credit card
- One backup card stored separately
- Philippine pesos
- A small emergency cash reserve
Avoid carrying your entire travel budget in cash.
Do not exchange all your money at the airport
Airport exchange counters are convenient, but rates may not be the best. Exchange enough for:
- Transportation
- Food
- Small expenses during your first day
Then compare exchange rates at reputable banks or money changers once you reach your destination. Always count your money before leaving the counter.
Transportation is different from city to city
There is no single Philippine transportation system. In Metro Manila you may use:
- Grab
- Taxis
- Public transportation, including the MRT, LRT, buses, jeepneys and point-to-point buses
For first-time foreign visitors, some public transportation routes can be confusing, particularly if you are unfamiliar with local routes and payment systems. Grab is often easier for the first few days, while public transportation can be useful once you understand the area.
In provincial areas, since Taxi and Grab are largely not available, you may encounter local transportation like tricycles, jeepneys, vans, motorcycles, ferries and buses. This is part of the Philippine travel experience, but it can be confusing for first-time visitors. Public transportation is inexpensive, but routes and payment systems are not always obvious to foreigners.
For a first trip, I recommend using Grab where available and experimenting with local transportation when you have enough time and know where you are going.
Manila traffic is real
Do not judge distance only by kilometers. A destination 10 kilometers away may sometimes take far longer than expected because of congestion. This is especially important when traveling to:
- NAIA
- Bus terminals
- Business meetings
- Medical appointments
- Domestic flights
Leave generous time. A traveler accustomed to highly predictable train systems in Korea, Japan, Singapore or Europe may find Metro Manila transportation frustrating. Planning fewer activities per day can actually make the trip more enjoyable.
Domestic travel requires extra planning
One of the greatest attractions of the Philippines is island travel. Popular destinations include:
- Palawan
- Boracay
- Cebu
- Bohol
- Siargao
- Baguio
- Iloilo
- Dumaguete
- Siquijor
- Camiguin
But moving between destinations often involves more than simply boarding another flight. You may need:
Hotel → airport → flight → van → ferry → tricycle → resort
Always examine the entire journey, not just the flight. A cheap domestic flight may become inconvenient if it arrives late at night and the final ferry has already departed.
Do not try to see the entire Philippines in one week
This is one of the most common first-time mistakes. The Philippines looks compact on a map, but its geography makes travel time-consuming.
For a one-week trip, I would choose perhaps: Manila + one major destination
For a two-week trip: Manila + two or three destinations
Trying to combine Manila, Cebu, Bohol, Boracay, Palawan and Siargao into one short vacation can turn a holiday into a continuous series of airports and transfers. Spend more time experiencing fewer places.
Weather can change your plans
The Philippines has a tropical climate, but weather patterns differ by region. During the wetter months, particularly from around June to October in many parts of the country, some destinations may become less crowded. However, rainfall patterns vary significantly by region.
During the rainy season, heavy rain, tropical storms and typhoons can affect:
- Flights
- Ferries
- Island tours
- Roads
- Outdoor activities
During the rainy season, maintain some flexibility in your itinerary. Do not schedule an international departure immediately after a ferry connection from a remote island if you can avoid it. When traveling during periods of unstable weather, build a buffer into your schedule.
What should you wear?
For most destinations:
- Lightweight clothing
- Breathable fabrics
- Comfortable walking shoes
- Sandals
- Hat
- Sunglasses
- Sunscreen
Bring a light jacket or sweater because shopping malls, buses and restaurants can be surprisingly cold due to strong air-conditioning. If visiting churches or religious locations, wear reasonably respectful clothing.
For mountain destinations such as Baguio or parts of northern Luzon, evenings may feel considerably cooler than Manila.
The sun is stronger than many visitors expect
Even travelers from warm countries can underestimate Philippine sunlight. Use:
- Sunscreen
- Hat or umbrella
- Water
- Shade
Avoid spending several hours under direct midday sun when you first arrive. Heat exhaustion can ruin several days of a vacation.
Can I drink tap water?
For visitors, the safest approach is generally to drink bottled, filtered or properly treated water, particularly when you are uncertain about the building’s water supply.
Hotels normally provide bottled or filtered drinking water. Ice in reputable hotels and restaurants is generally commercially produced, but travelers with sensitive stomachs may still prefer to be cautious.
English makes travel considerably easier
English is widely spoken in the Philippines, particularly in cities, hotels, airports, restaurants and tourist areas. Even in remote countryside places, communication with English is quite possible.
For English-speaking visitors, this can make the Philippines relatively easy to navigate compared with many destinations in the region. But learning a few Filipino expressions is still appreciated:
Salamat po — Thank you
Magandang umaga — Good morning
Magkano? — How much?
Saan? — Where?
You do not need to speak Filipino to travel successfully, but small efforts often create warmer interactions.
Filipinos are friendly—but use normal travel precautions
The friendliness of Filipino people is one of the country’s greatest attractions. People will often:
- Give directions
- Help carry luggage
- Explain transportation
- Recommend restaurants
- Start conversations
But friendliness should not replace ordinary travel awareness. As in any country:
- Watch your belongings
- Avoid displaying large amounts of cash
- Use reputable transport
- Keep passport copies
- Avoid isolated areas late at night
- Do not leave phones or bags unattended
- Use hotel safes where appropriate
- Be cautious with strangers offering unusually good deals
Do not become frightened—but do not become careless either.
Our guide Is the Philippines Safe to Travel in 2026? may be useful to read.
Keep digital copies of important documents
Before departure, save copies of:
- Passport
- Visa, if applicable
- Travel insurance
- Airline tickets
- Hotel confirmations
- eTravel registration
- Emergency contacts
- Prescriptions
Keep copies in cloud storage and, ideally, on another device. Also leave a copy of your itinerary with someone you trust.
Travel insurance is worth considering
Medical care, flight cancellations, lost baggage and emergency evacuation can become expensive. Travel insurance can be especially important if your itinerary includes:
- Scuba diving
- Motorcycles
- Remote islands
- Adventure activities
- Multiple domestic flights
- Expensive equipment
Read the policy carefully. Some insurers exclude motorcycles, diving, pre-existing medical conditions or certain activities unless additional coverage is purchased.
Be careful when renting motorcycles
Motorcycles are common in tourist areas such as Siargao, Siquijor and many islands. They can be convenient—but accidents involving inexperienced tourists are also a real concern. Before renting:
- Confirm your licence is valid for the vehicle
- Understand your insurance coverage
- Wear a helmet
- Inspect the motorcycle
- Photograph existing damage
- Avoid driving after drinking alcohol
- Do not learn to ride a motorcycle for the first time during a vacation
A ₱500 rental can become very expensive if you are injured.
Electricity and charging
Philippine electricity is approximately 230 V, 60 Hz. Travelers should check whether their devices support 220–240 V. Modern phone and laptop chargers typically accept a wide voltage range, but always check the label.
Plug types can vary by building. Bringing a compact universal travel adapter is a good idea. A power bank is also extremely useful during long transfers and island trips.
How much should you budget?
Travel costs vary enormously so I cannot say categorically how much you need to prepare. A backpacker using hostels and public transportation can travel relatively cheaply. A visitor staying in upscale resorts, using private transfers and booking domestic flights at the last minute can spend considerably more. As a rough daily planning range, excluding international airfare:
| Travel style | Approximate budget per person/day |
|---|---|
| Budget | ₱2,000–₱3,500 |
| Comfortable | ₱4,000–₱8,000 |
| Higher-end | ₱10,000+ |
These are planning estimates, not fixed market prices. Island resorts and peak-season destinations can be considerably more expensive.
A simple first-time itinerary
If you have 10 days, consider something like:
Days 1–2: Metro Manila. Recover from your flight and experience:
- BGC
- Makati
- Intramuros
- National Museum
- Manila Bay
Days 3–6: One major island destination. Choose one:
- Palawan
- Boracay
- Bohol
- Cebu
- Siargao
Days 7–9: Second destination or extended island stay. Instead of rushing, spend more time exploring.
Day 10: Return to Manila. Return to Manila before your international departure day when possible. That buffer protects you from domestic-flight, ferry or weather disruptions.
Common first-time mistakes
The mistakes I see most often are simple:
- Planning too many destinations
- Underestimating Manila traffic
- Forgetting eTravel
- Arriving without mobile data
- Depending completely on credit cards
- Booking tight domestic connections
- Underestimating the tropical heat
- Assuming every island has the same infrastructure
- Choosing a hotel based only on price instead of location
- Leaving no buffer before the international return flight
Most are easy to avoid with a little preparation.
Is the Philippines difficult for a first-time visitor?
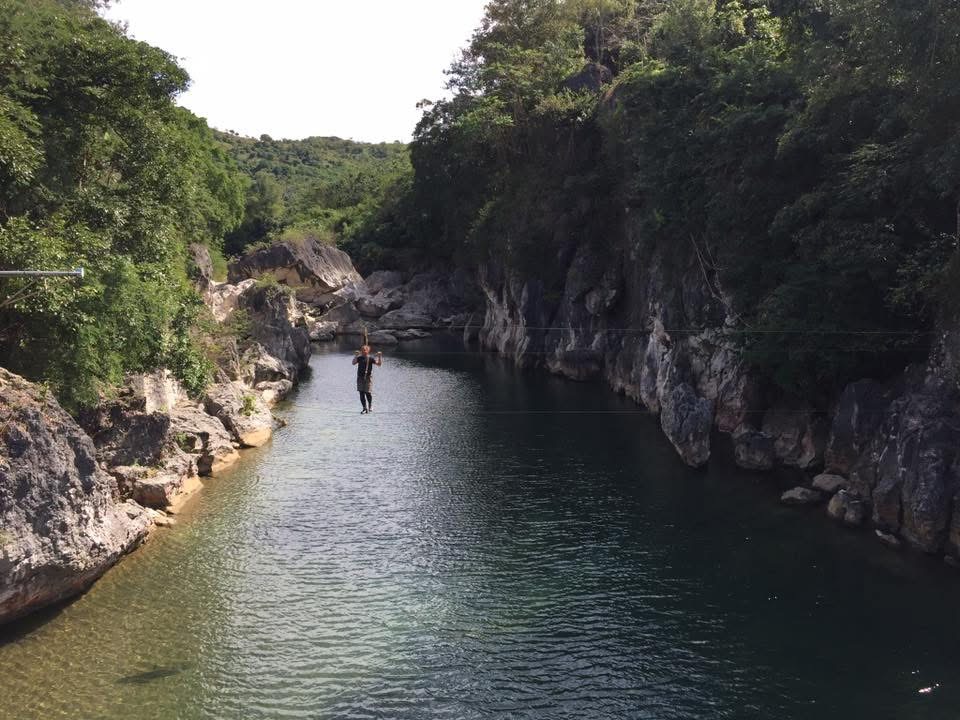
Not necessarily. The country can sometimes feel disorganized compared with destinations that have highly integrated public transportation and tourism infrastructure. But it also offers important advantages:
- Extensive English communication
- Friendly people
- Beautiful natural attractions
- Wide accommodation choices
- Affordable local food and services
- Good domestic-flight connectivity
- A huge variety of destinations
The secret is not expecting every part of the Philippines to operate like Singapore, Seoul or Tokyo. Travel becomes much easier when you accept that some journeys will take longer, some plans will change, and some of the most memorable experiences will happen outside the itinerary.
Final advice
For a first visit to the Philippines: Plan carefully—but leave room for the unexpected.
Register for eTravel before arriving. Have mobile internet. Carry enough cash. Use Grab where appropriate. Allow extra transportation time. Do not try to visit five islands in seven days. Protect yourself from the heat. Keep your documents secure. And most importantly, slow down enough to actually experience the country.
The Philippines is not a destination that needs to be completed like a checklist. Sometimes the best part of the trip is sitting beside the sea, eating something you have never tried before, talking with people you did not expect to meet, and realizing that your schedule no longer matters. That is often when a trip to the Philippines becomes memorable.
If your first trip makes you consider staying longer, our guide to Living in the Philippines as a Foreigner explains what everyday life is actually like.
Planning your first trip to the Philippines?
PhilifeGuide provides personalized itinerary planning and practical local support for visitors who want a more organized and comfortable Philippine journey.
Disclaimer: Entry rules, immigration requirements, transportation arrangements, prices and travel conditions can change. Verify current requirements with the relevant Philippine government agency, airline or service provider before traveling. This article provides general travel information and does not constitute immigration, legal, medical or insurance advice.
Updated August 2026
Leave a Reply